Deep Linking for Flutter Web
In this article I will show you how to have proper URL navigation for your application. Open links to specific pages, protected routes and custom transitions.
Setup
Create a new flutter project called “flutter_deep_linking”
Open that folder up in VSCode.
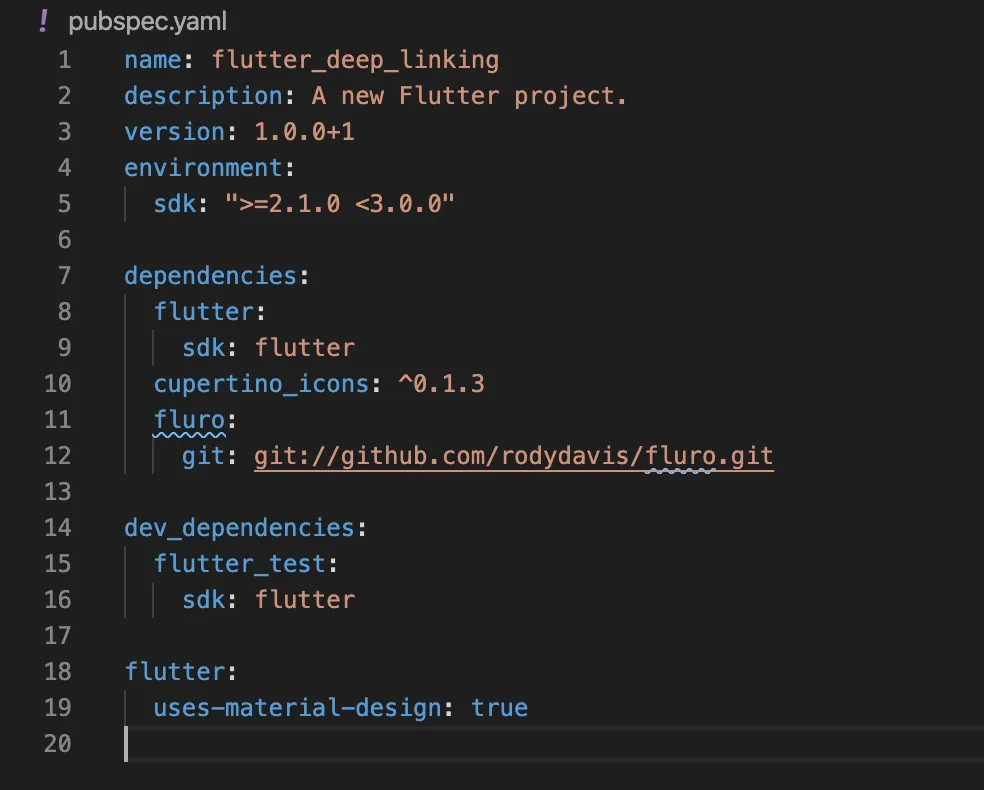
Update your “pubspec.yaml” with the following:
Step 1
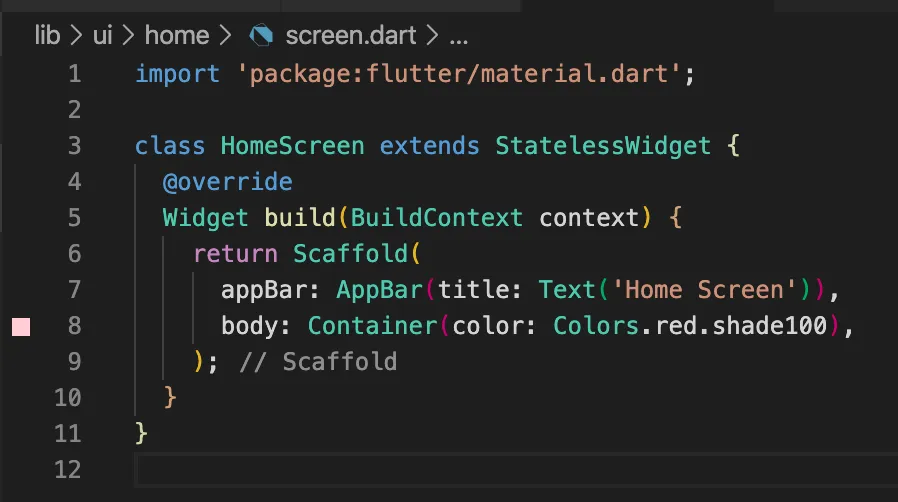
Create a file at “lib/ui/home/screen.dart” and add the following:
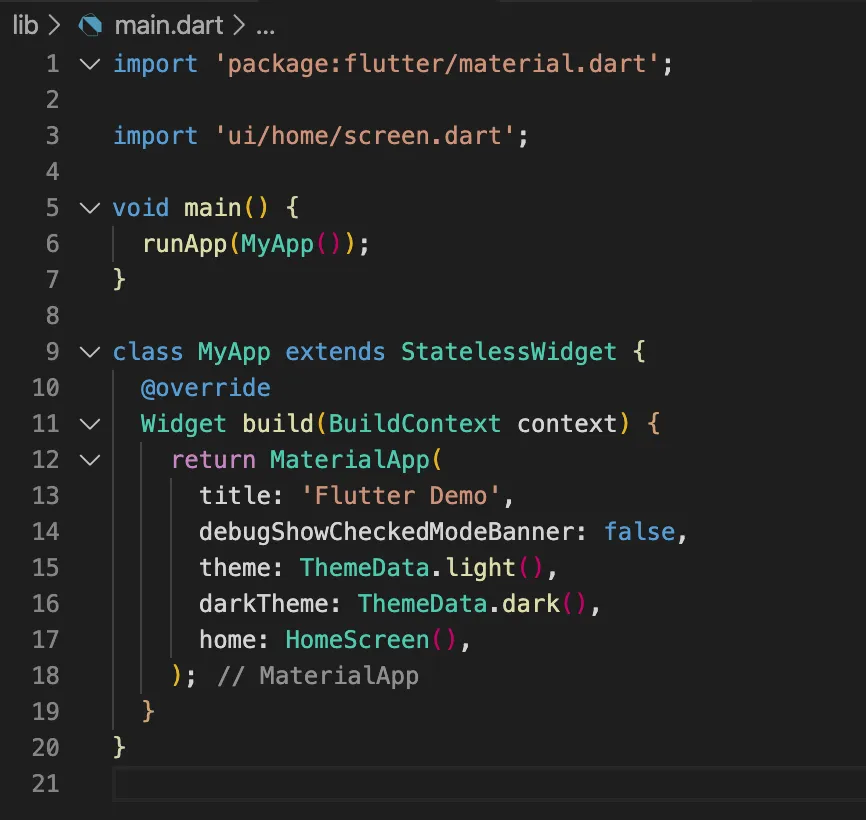
Update your “lib/main.dart” with the following:
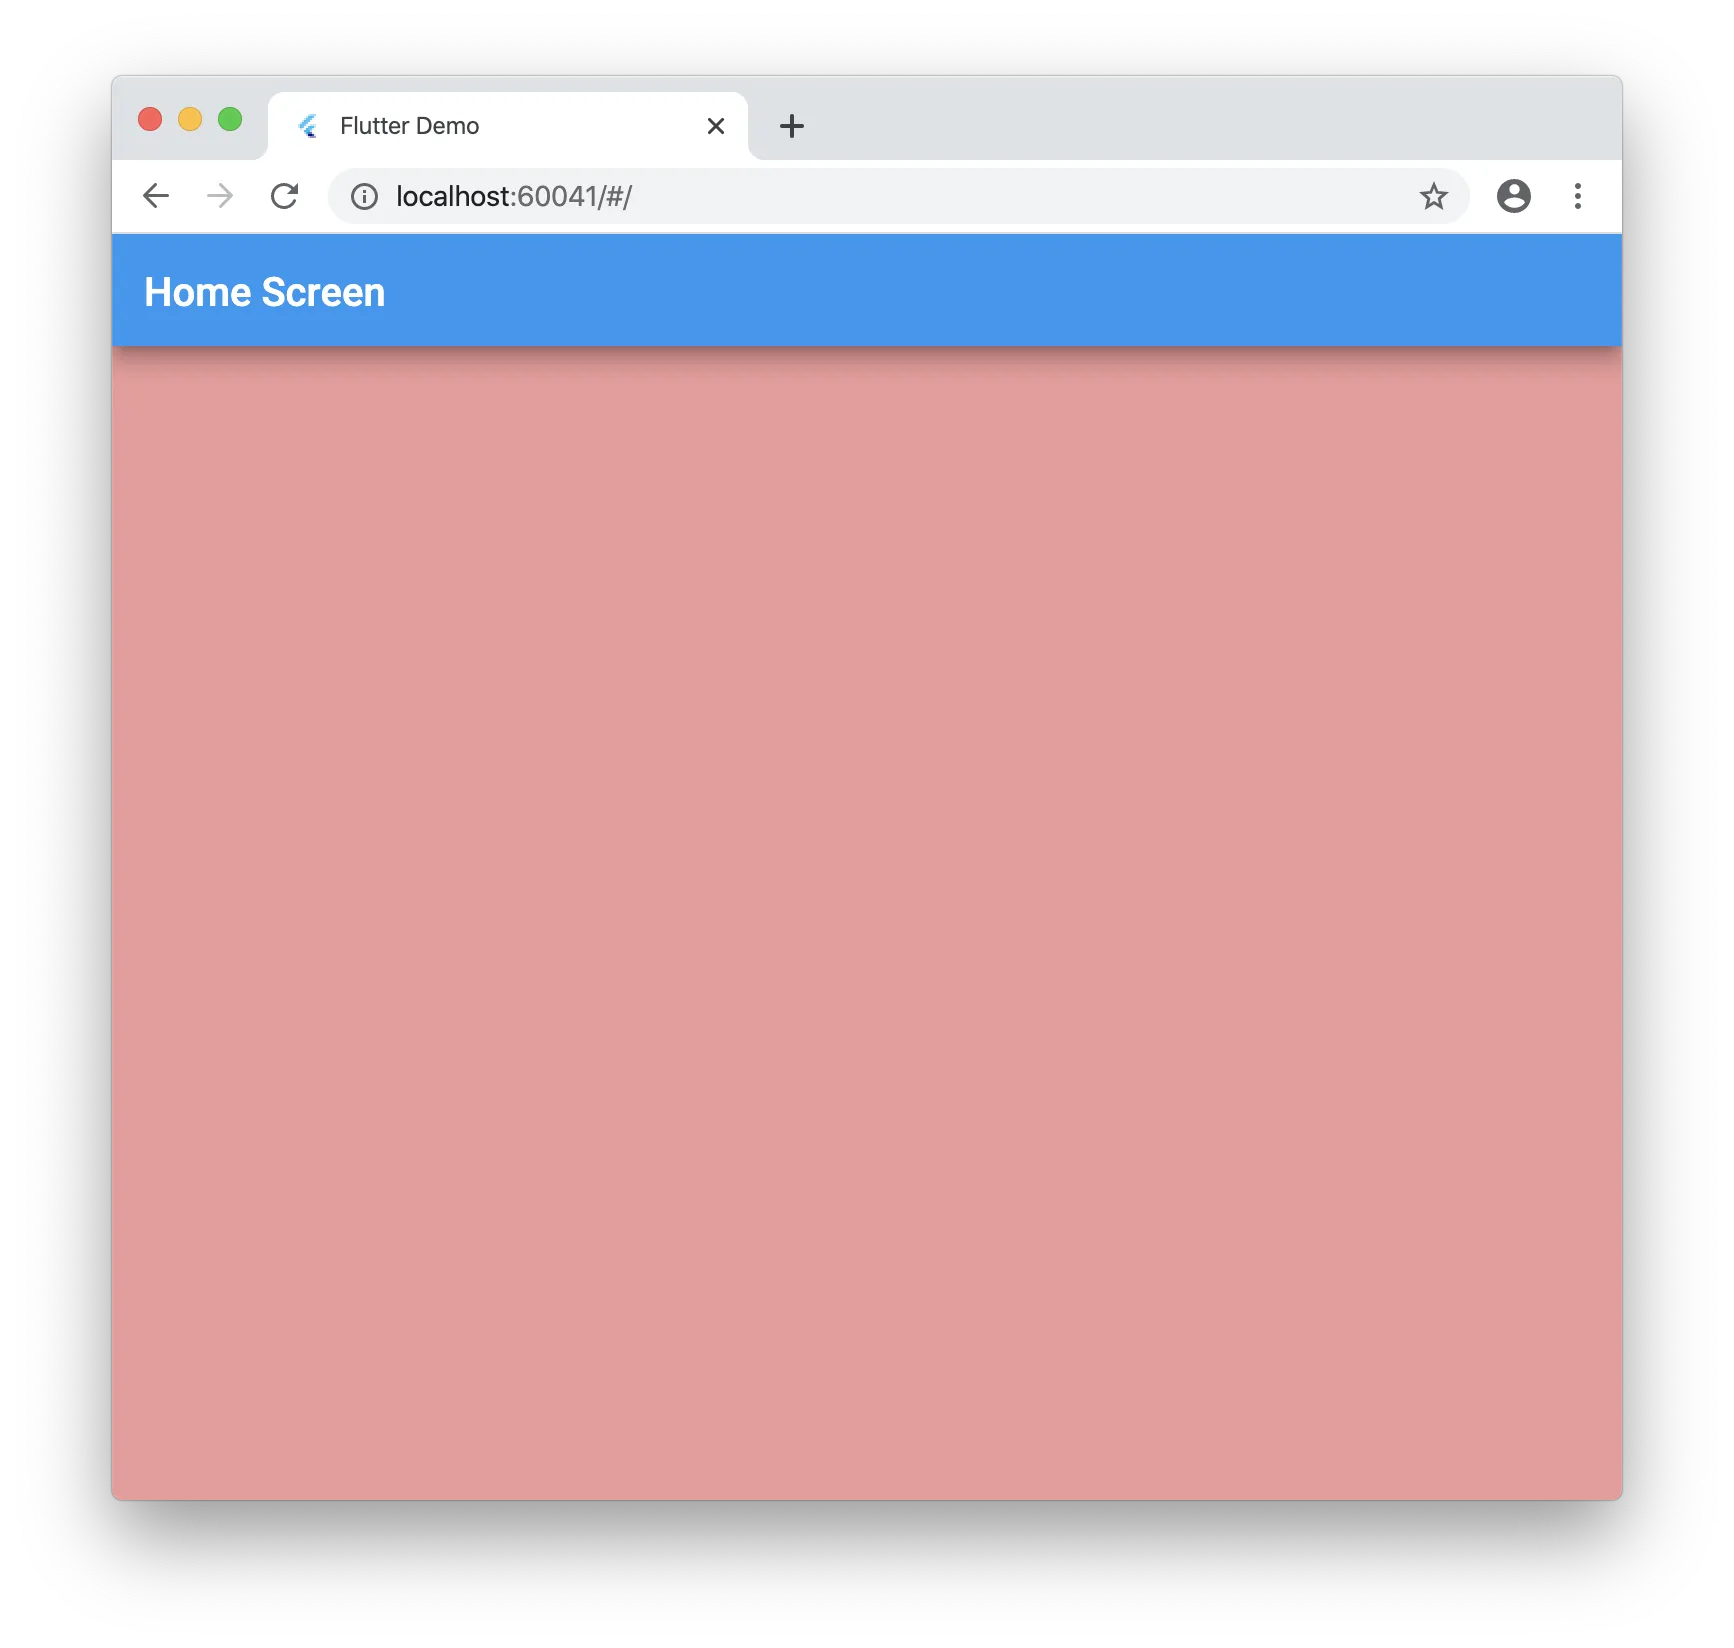
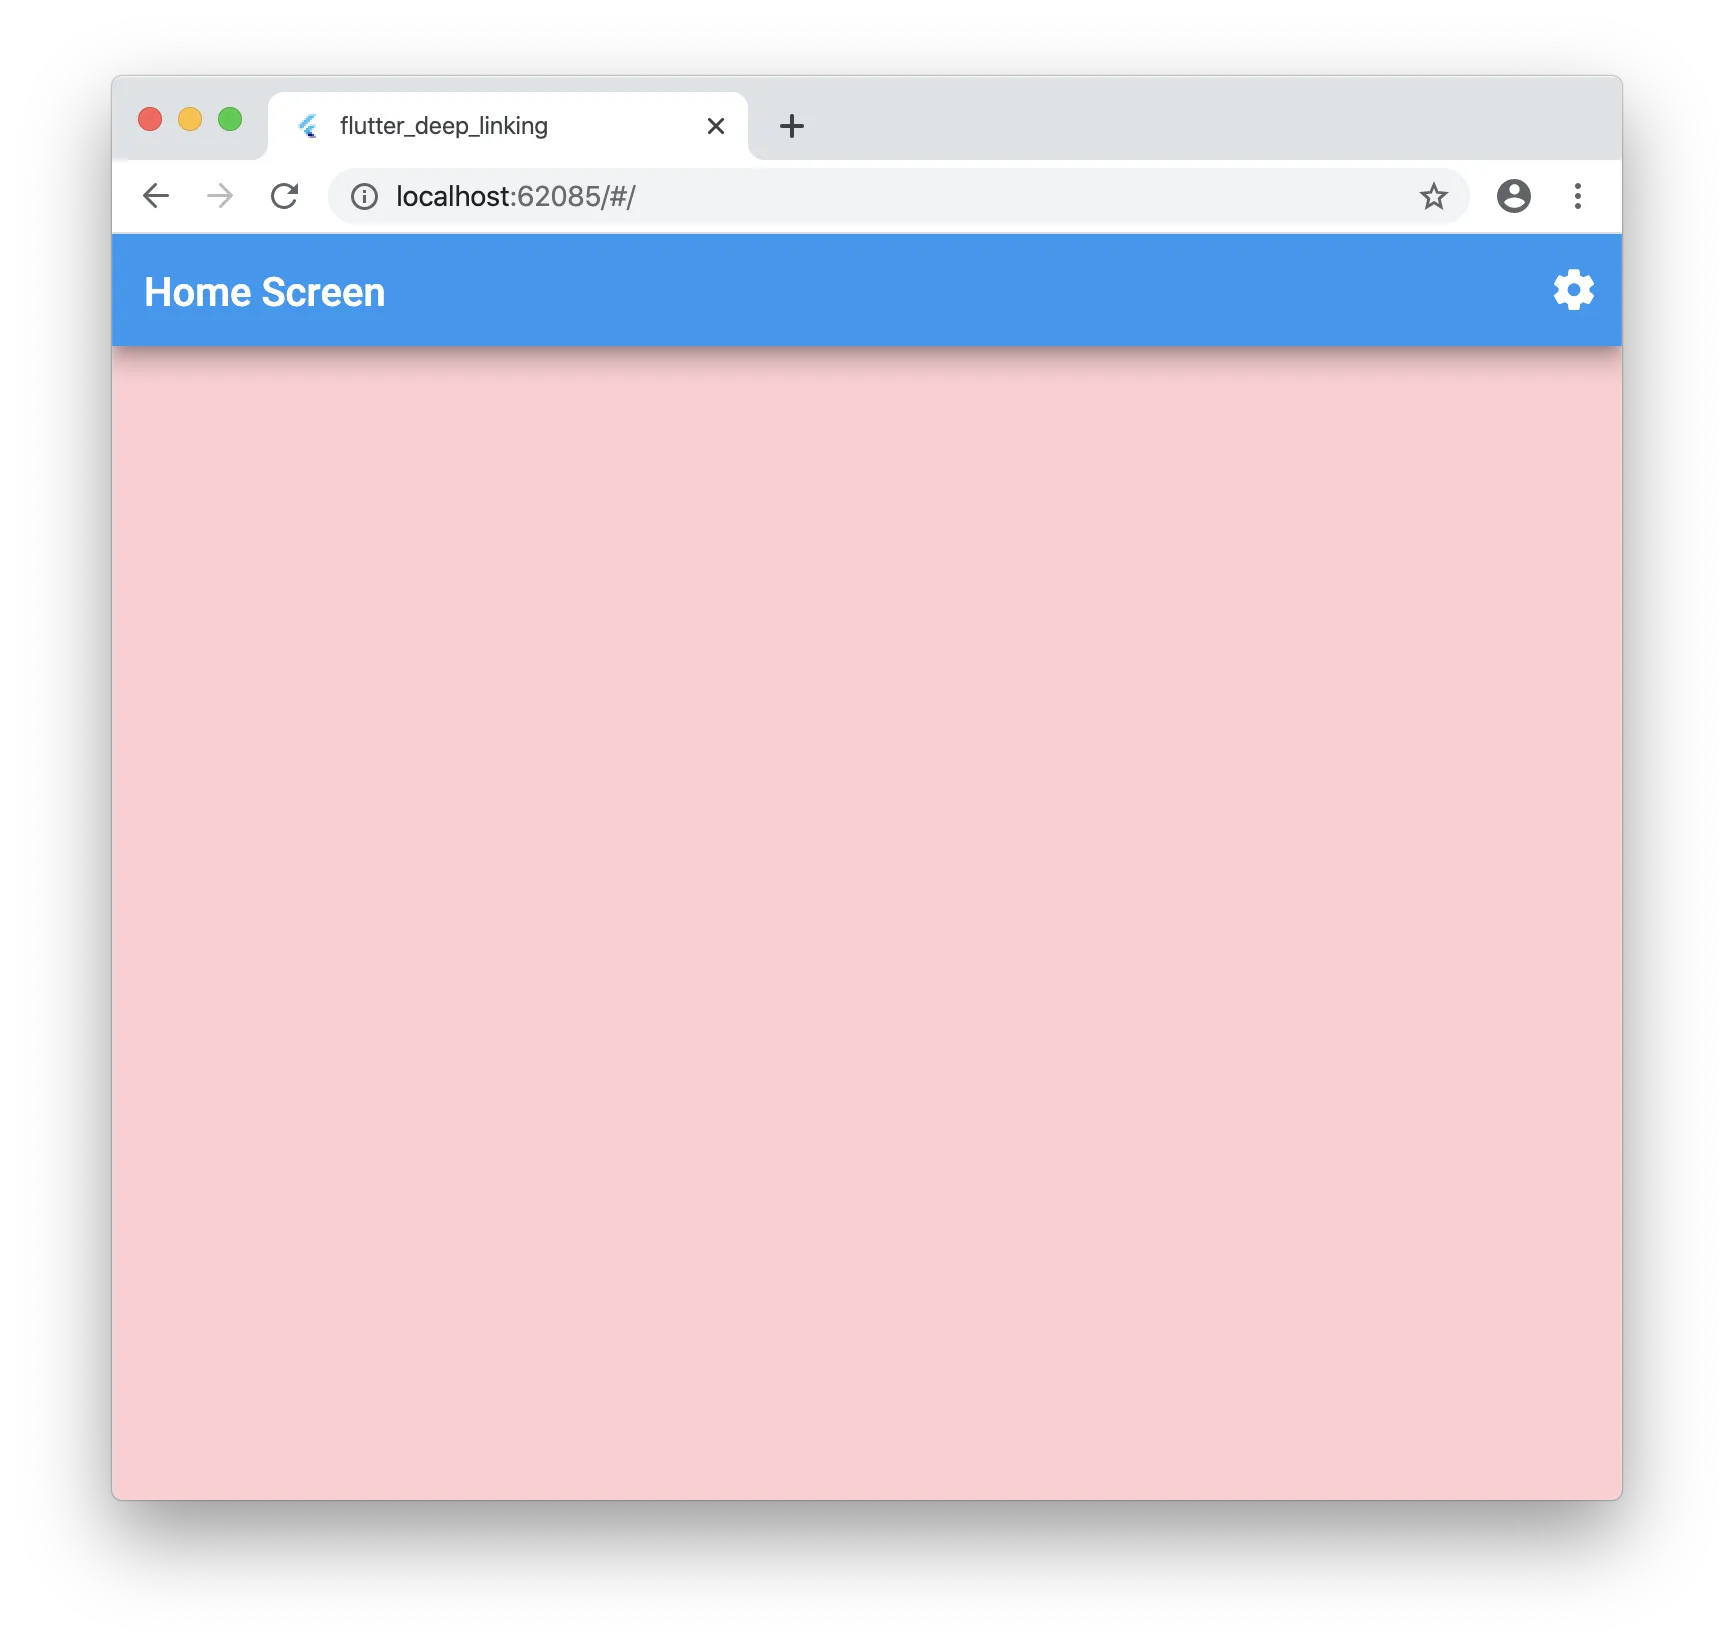
Run your application and you should see the following:
Step 2
Now we need to grab the url the user enters into the address bar.
Create a folder at this location “lib/plugins/navigator”
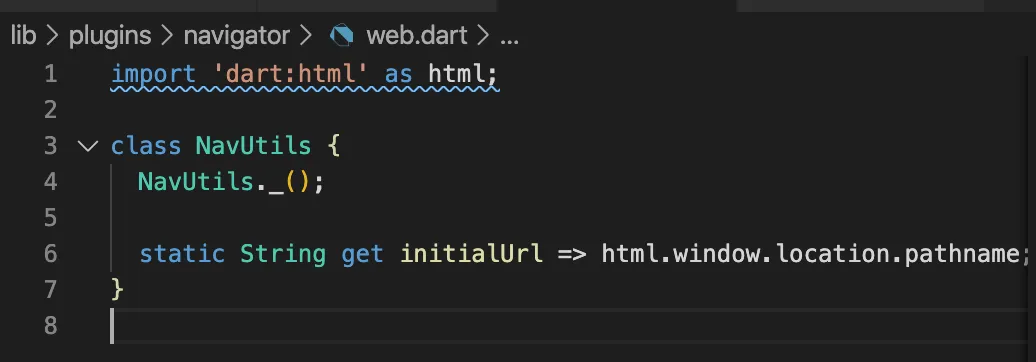
Create a file inside named: “web.dart” with the following:
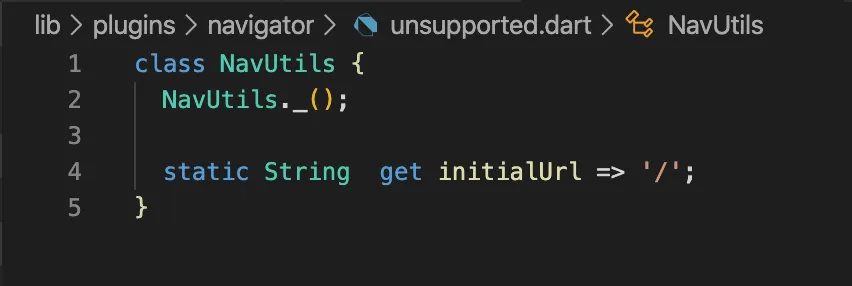
Create a file inside named: “unsupported.dart” with the following:
Create a file inside named: “navigator.dart” with the following:

Now go back to your “lib/main.dart” file and add the navigator:

It’s important to import the navigator as shown as this will have the conditional import for web compiling.
If you run the app now nothing should change.
Step 3
Now let’s add the proper routing.
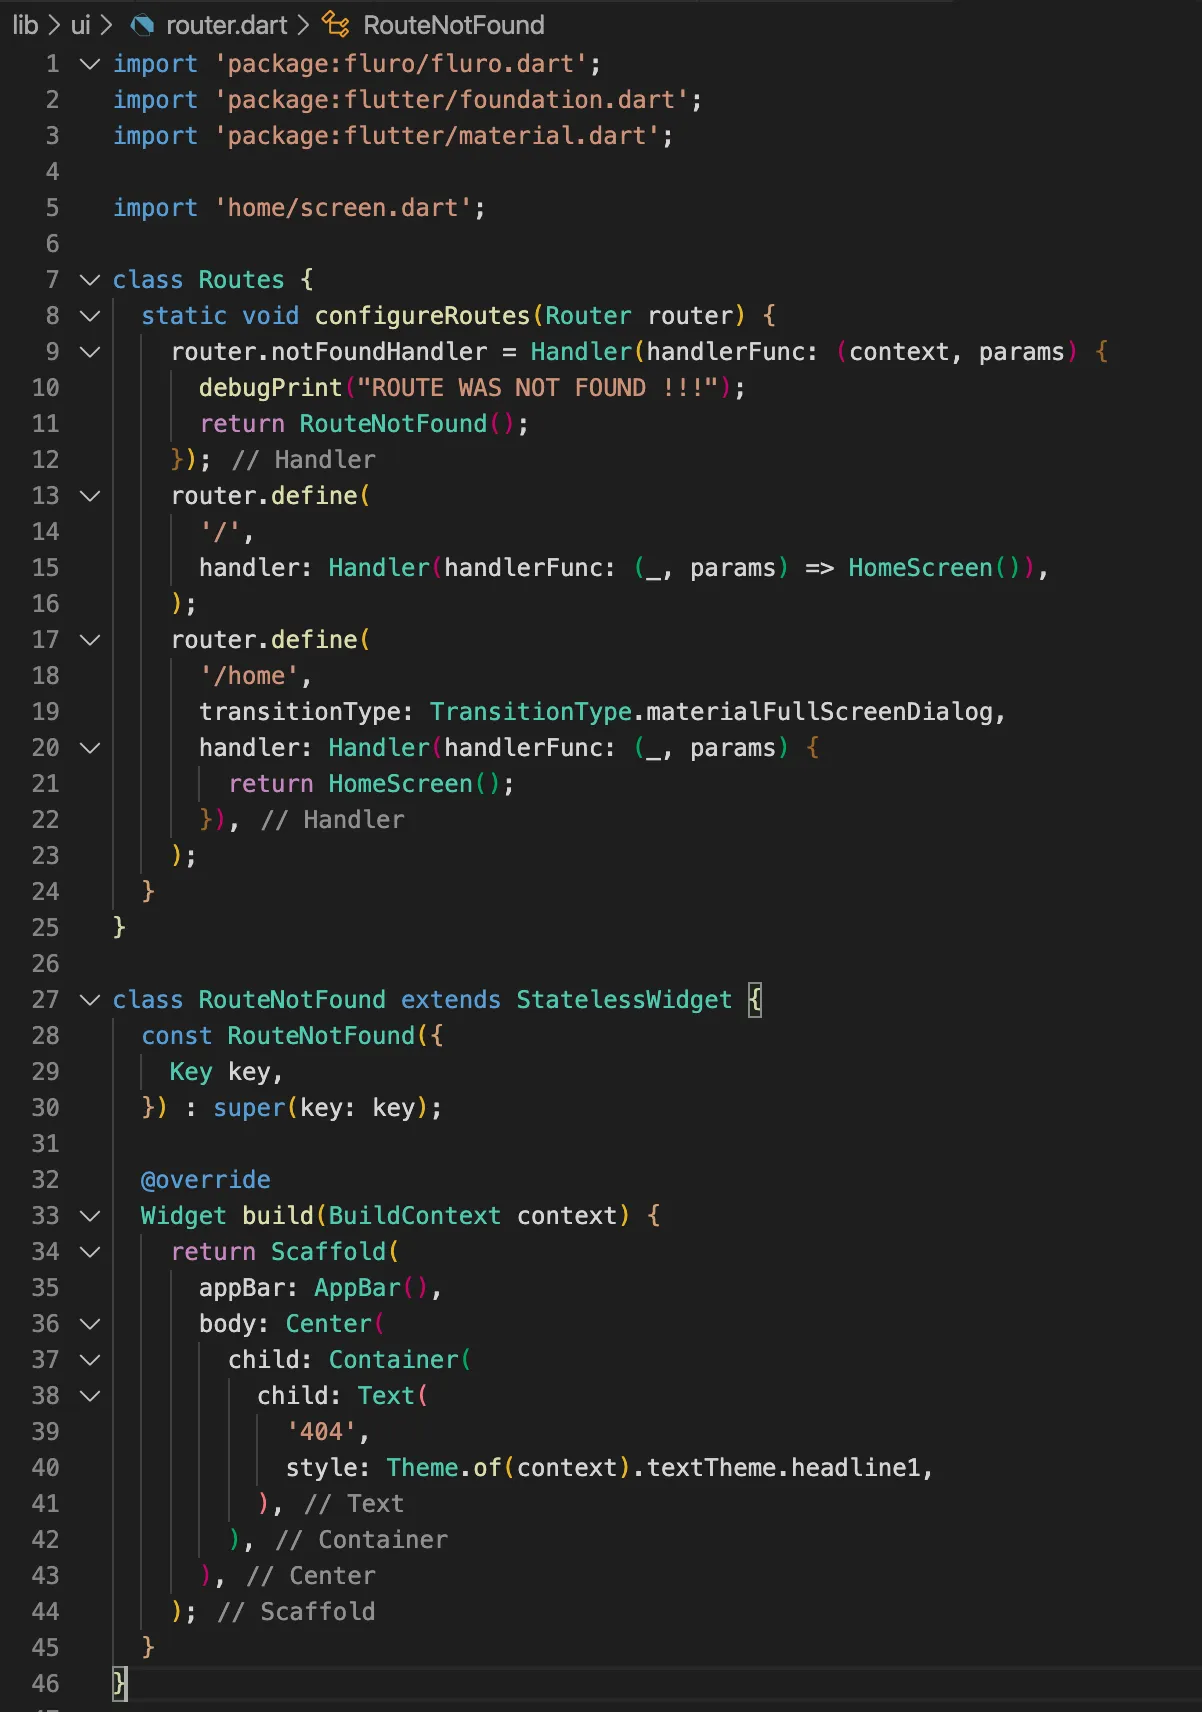
Create a new file “lib/ui/router.dart” and add the following:
Also update “lib/main.dart” with the following:
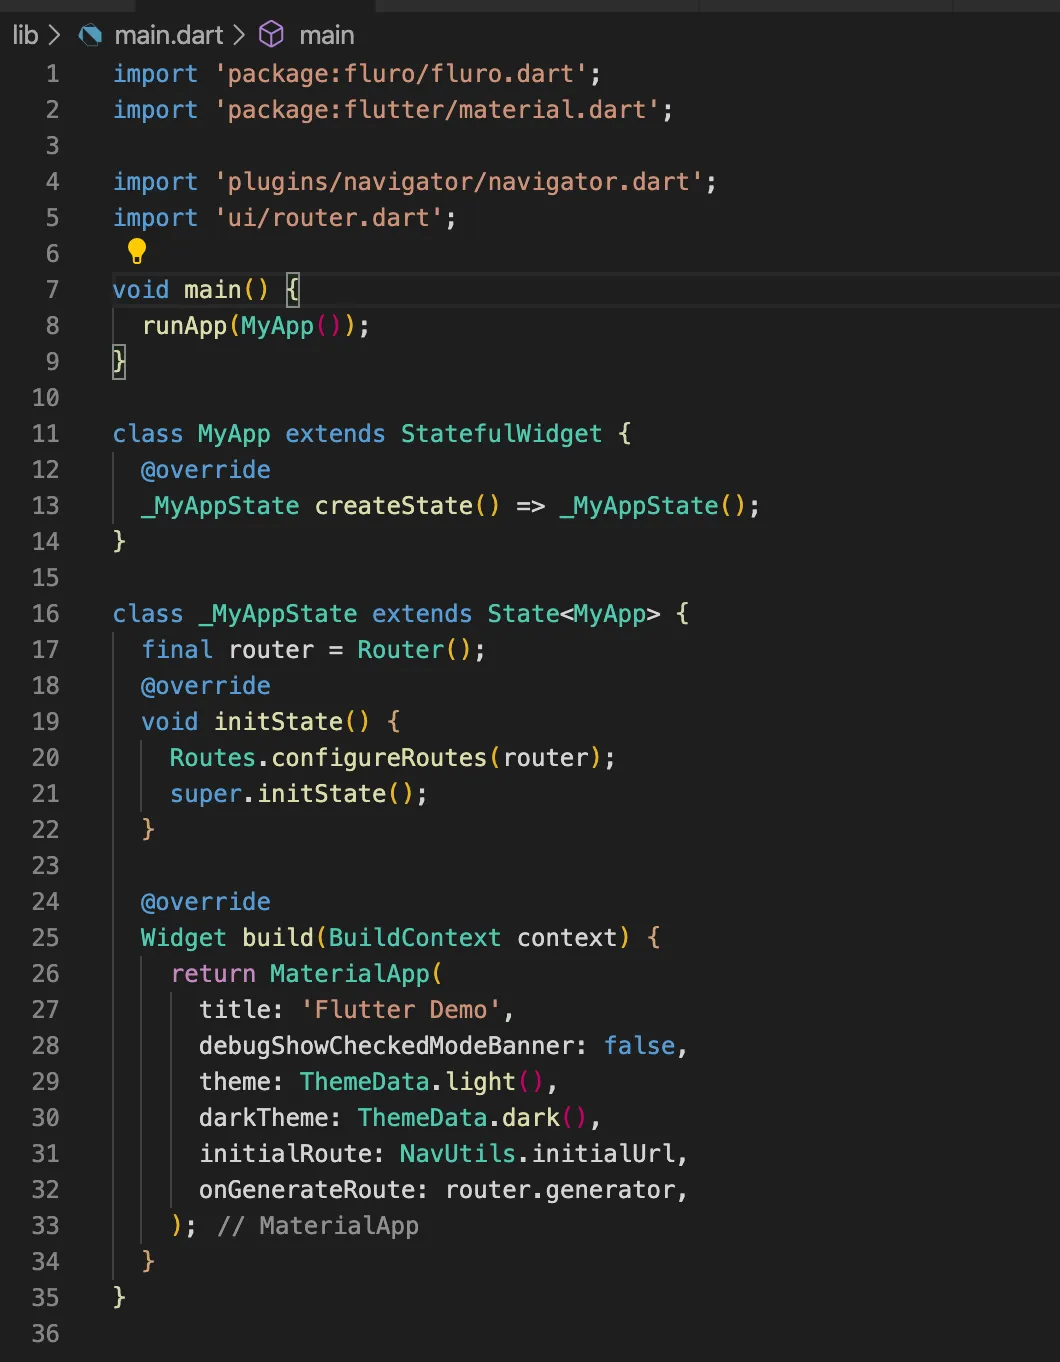
Notice how we removed the “home” field for MaterialApp. This is because the router will handle everything. By default we will go home on “/”
Step 4
Now let’s add multiple screens to put this to the test! Add the following folders and files.
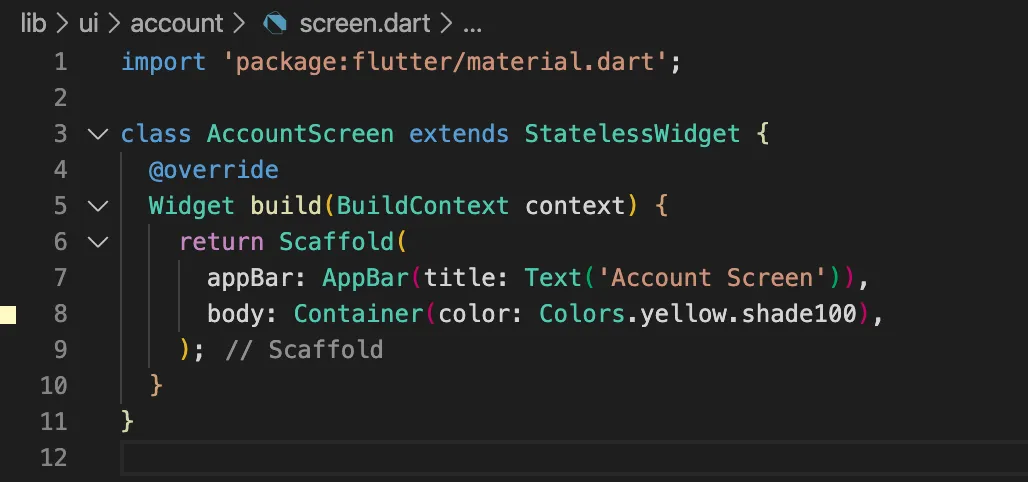
Create a file “lib/ui/account/screen.dart” and add the following:
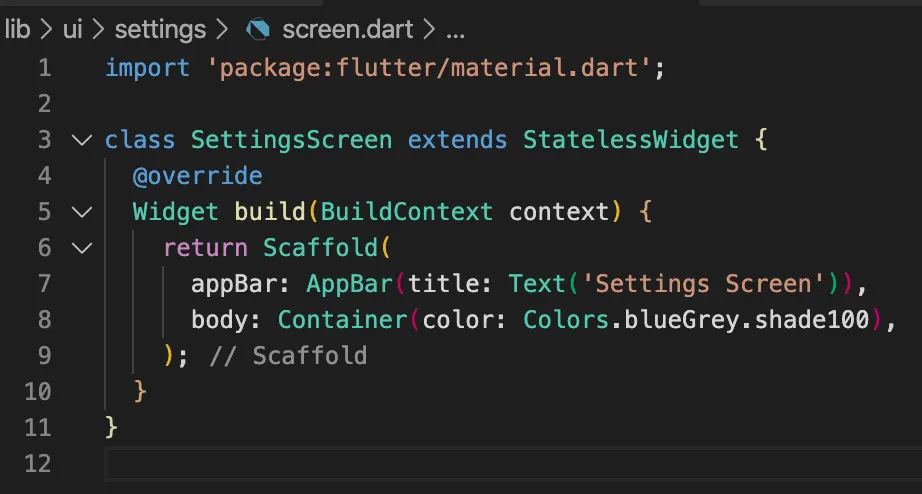
Create a file “lib/ui/settings/screen.dart” and add the following:
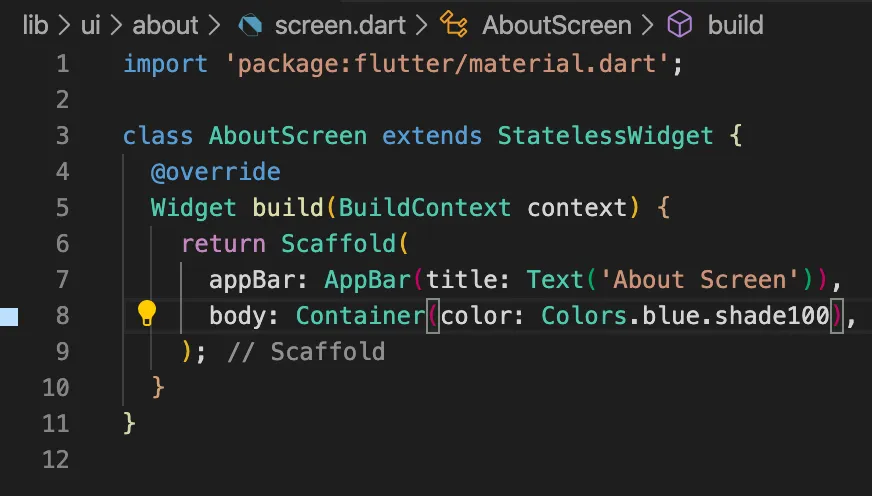
Create a file “lib/ui/about/screen.dart” and add the following:
Add the following to “lib/ui/router.dart”:
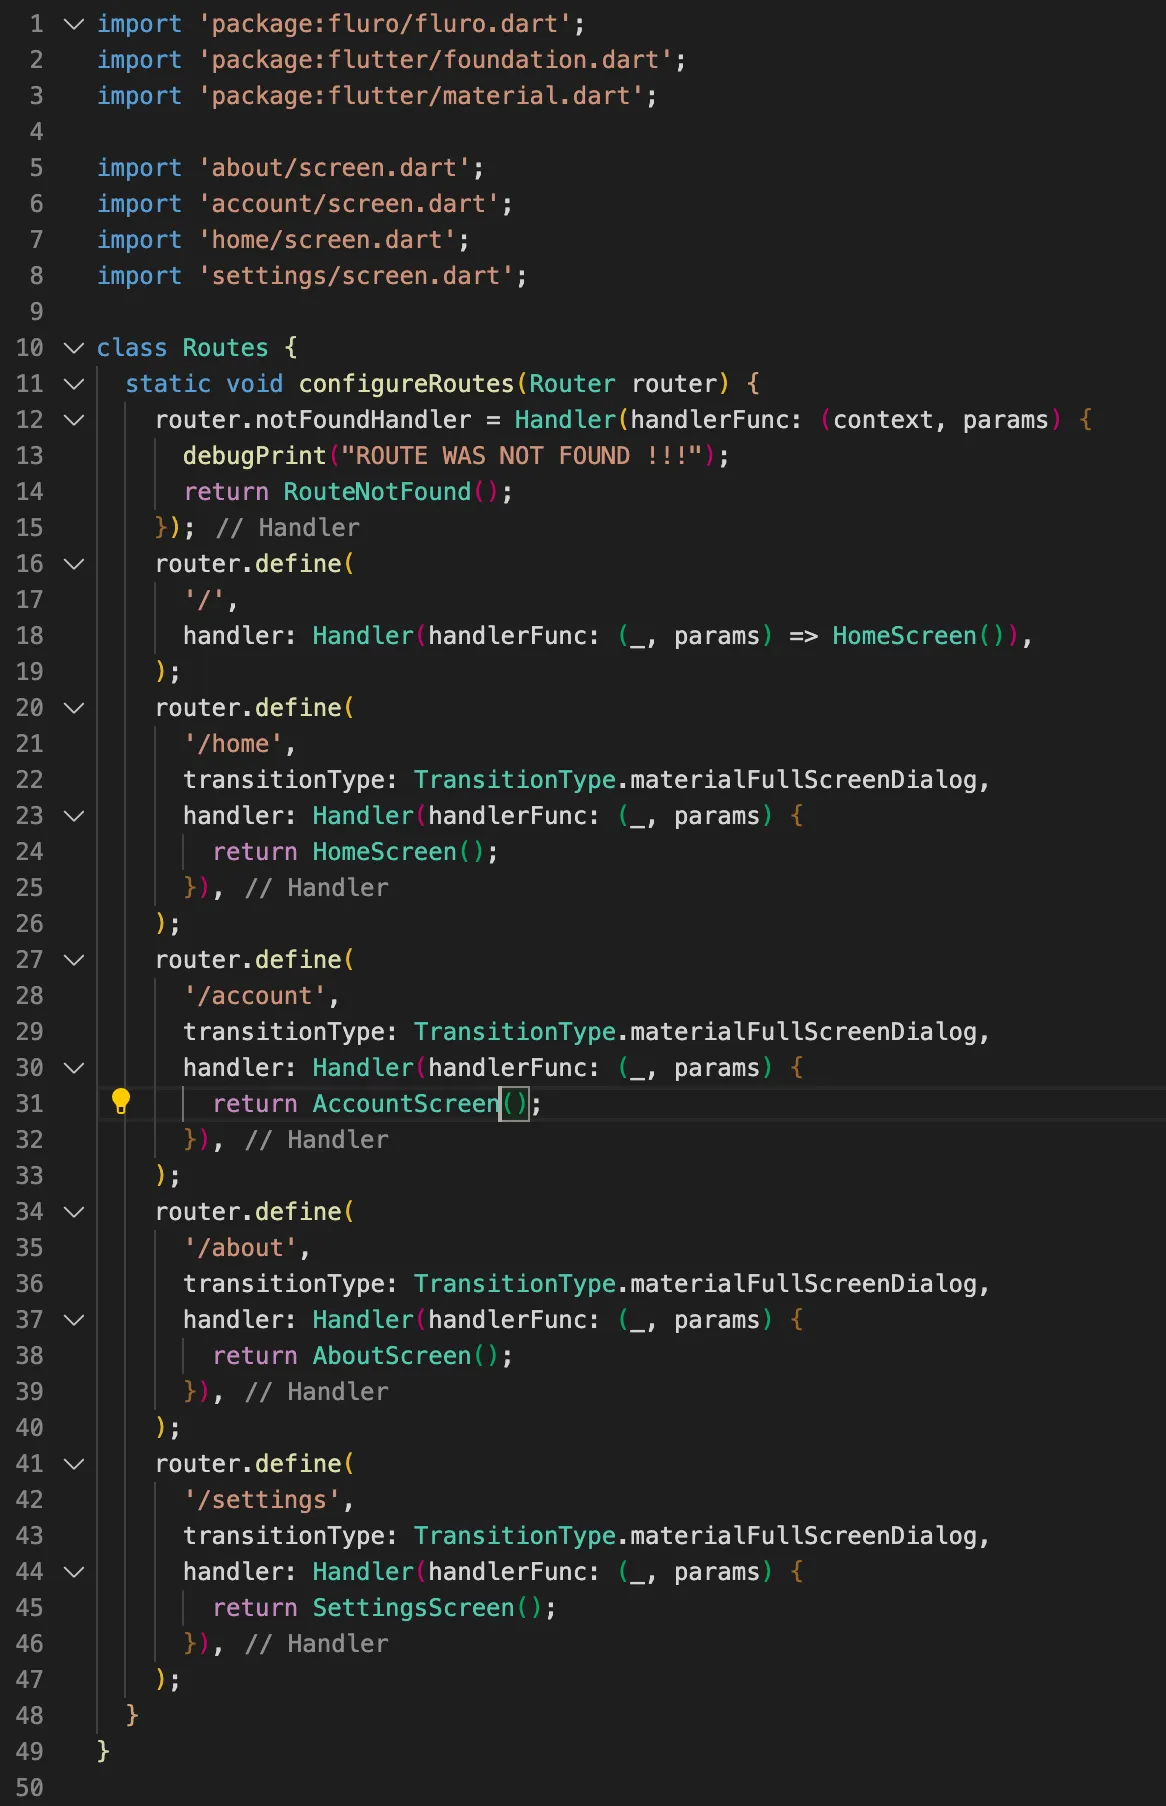
Now when you navigate to /about, /account and /settings you will go to the new pages!
Step 5
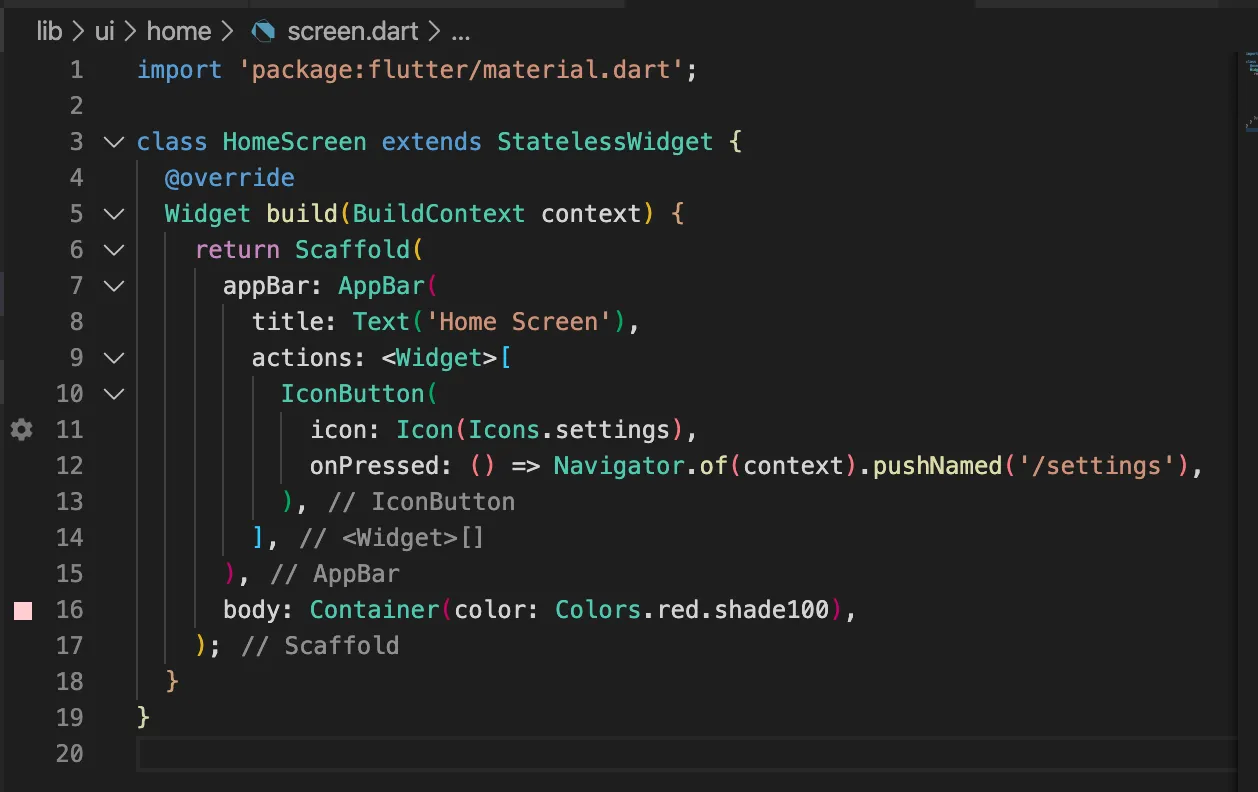
Now let’s tie into the browser navigation buttons! Update “lib/ui/home/screen.dart” with the following:
Now when you run the application and click on the settings icon it will launch the new screen as expected. But if you click your browsers back button it will go back to the home screen!

Step 6
These urls are great but what if you want to pass data such as an ID that is not known ahead of time? No worries!
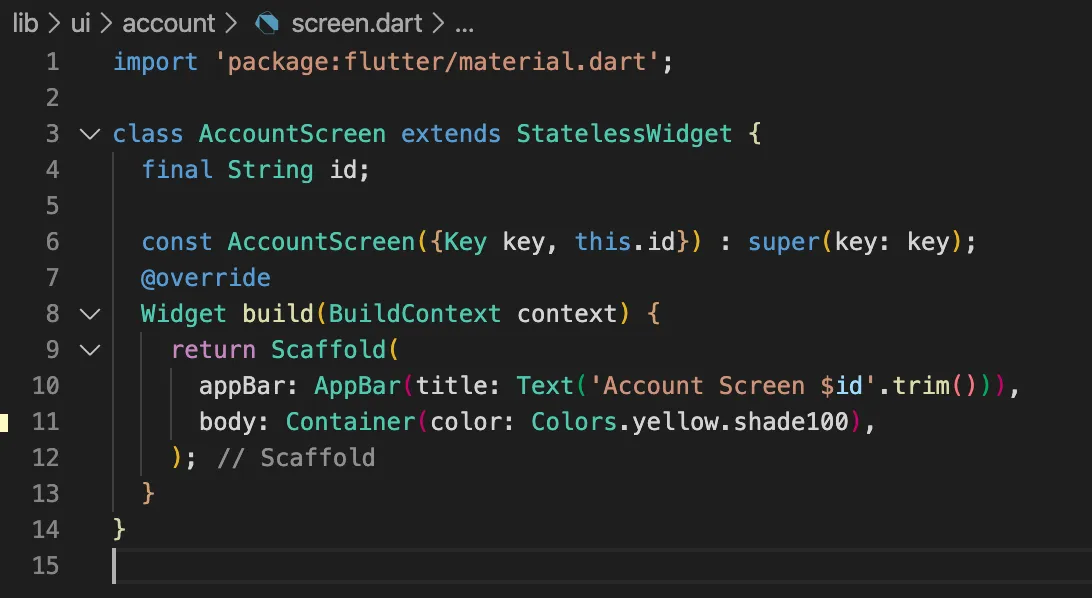
Update “lib/ui/account/screen.dart” with the following:
Let’s update our “lib/ui/router.dart” with the following:
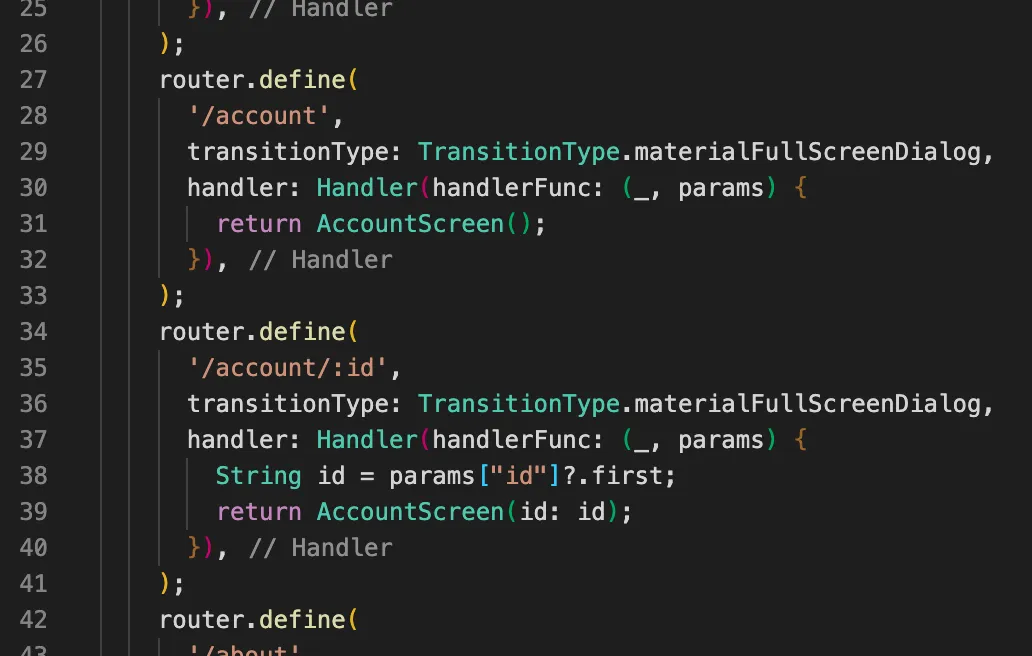
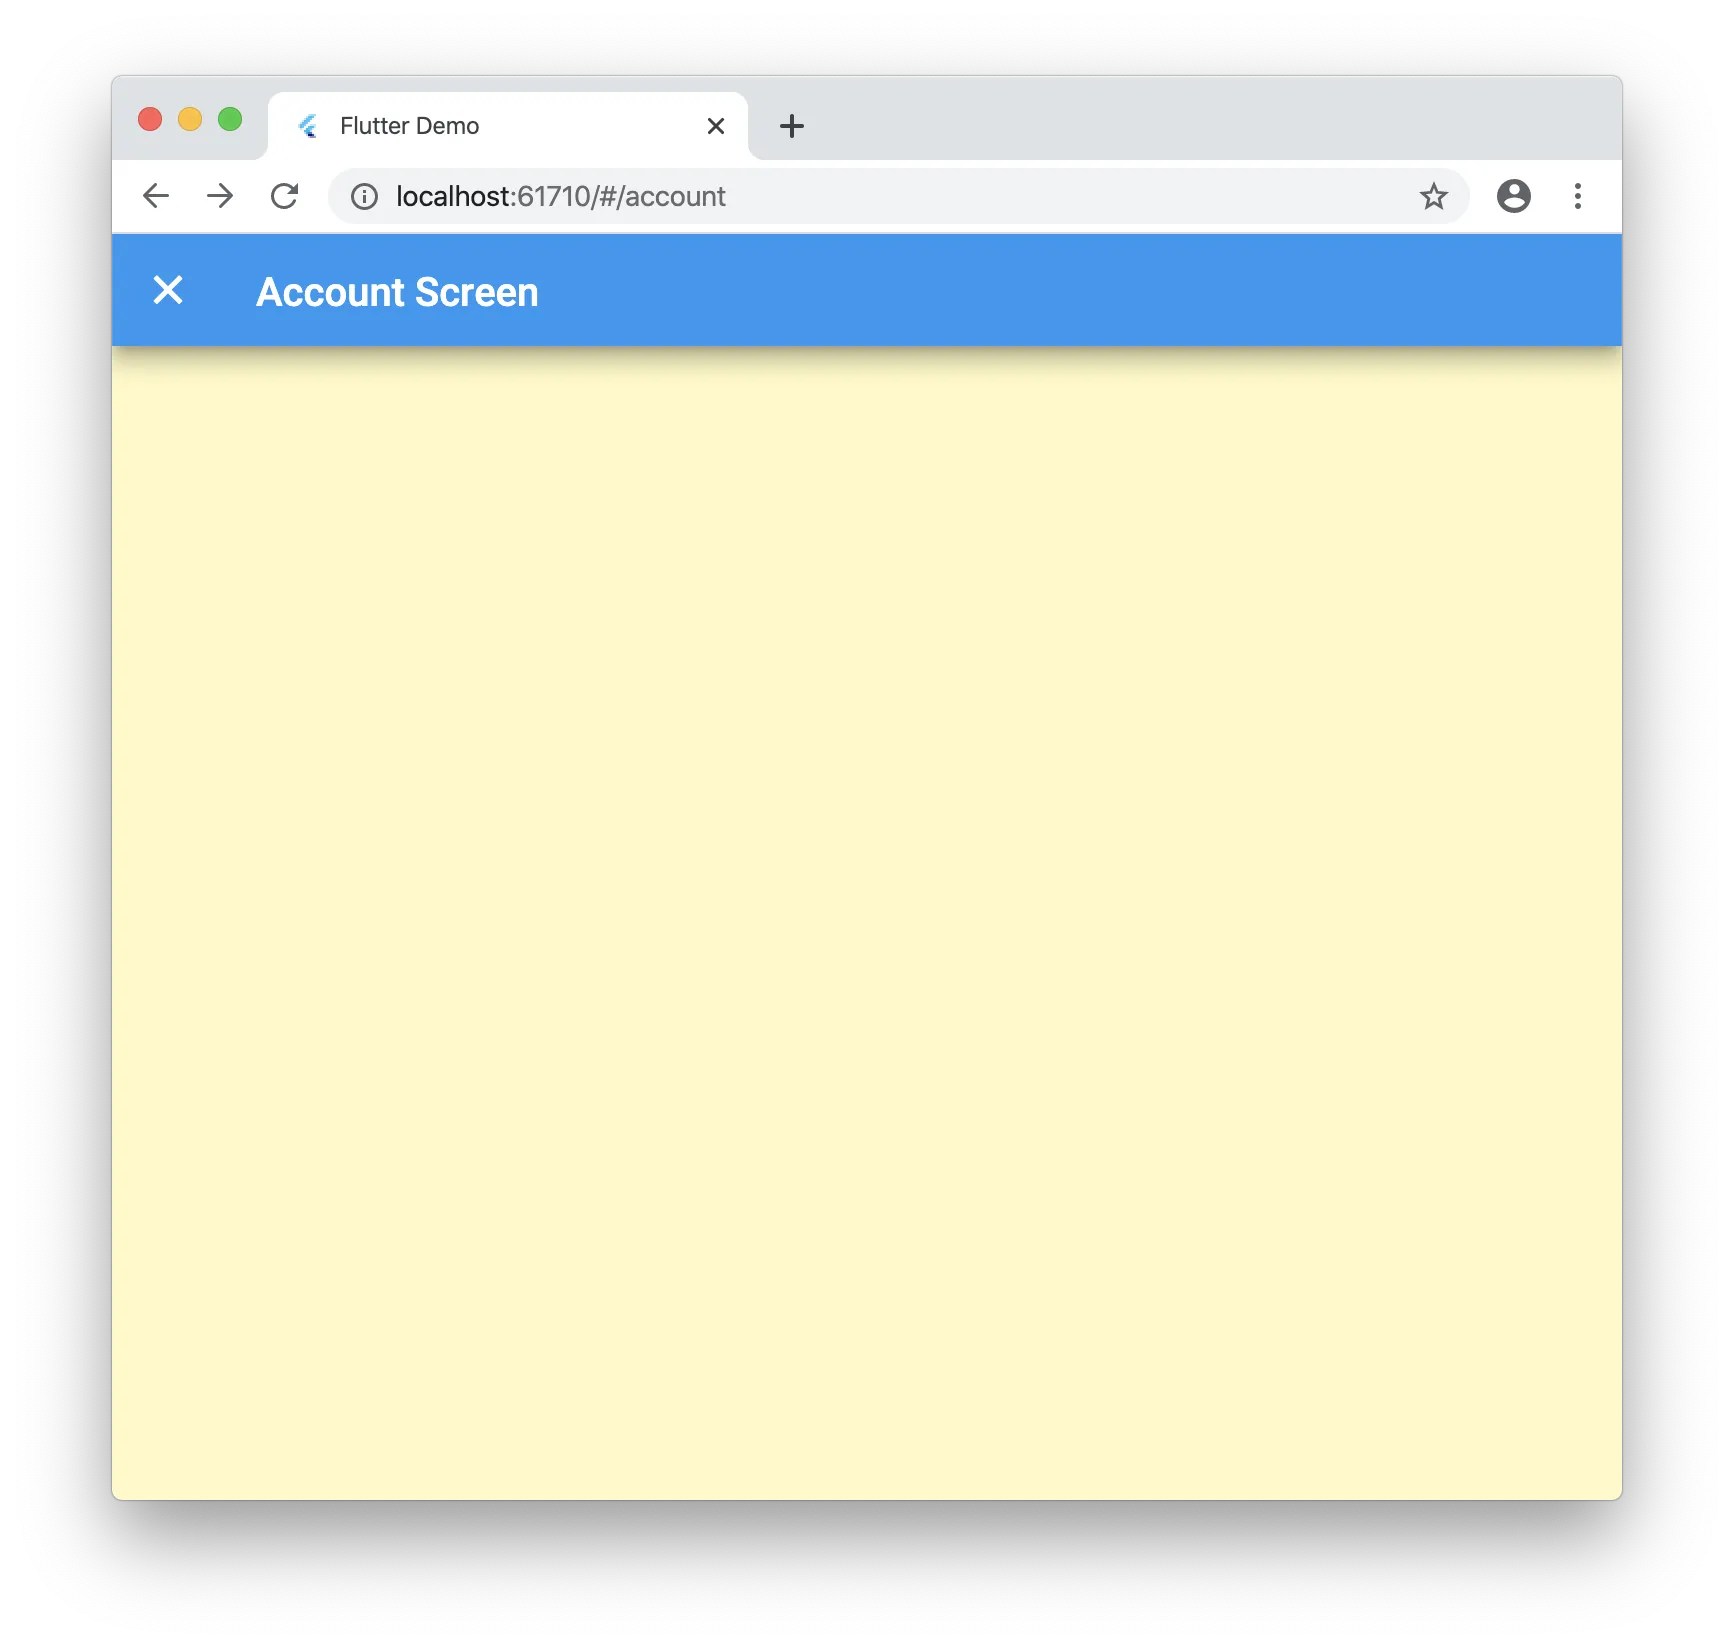
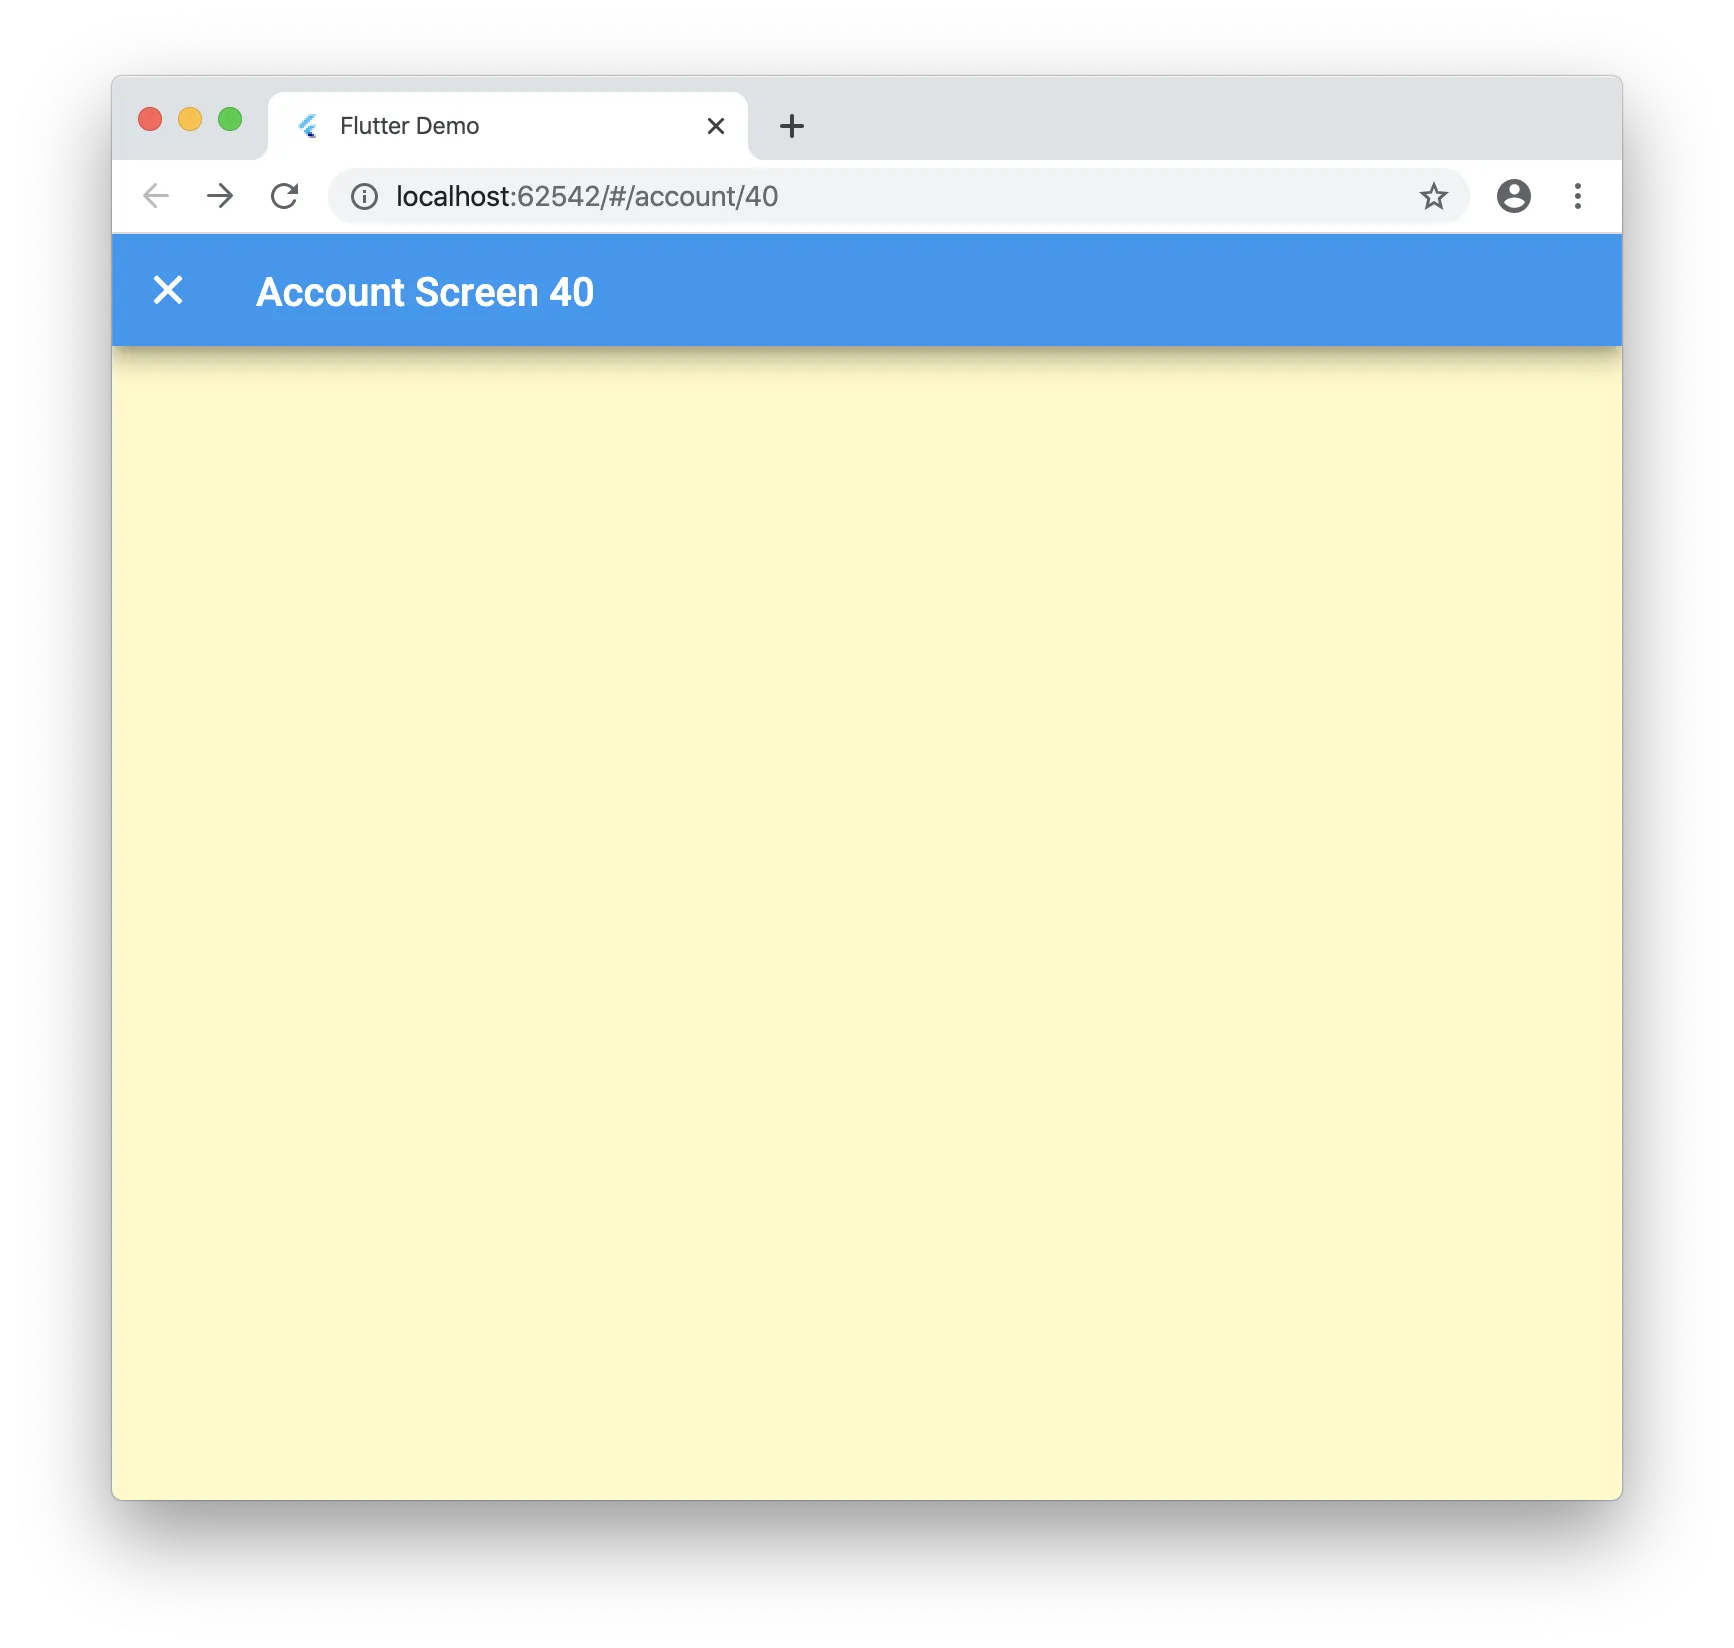
Now when you run your application and navigate to “/account/40” you will see the following:
Conclusion
Dynamic routes work great for Flutter web, you just need to know what to tweak! This package uses a forked version of fluro for some fixes I added but once the PRs is merged you can just use the regular package. Let me know what you think below and if there is a better way I am not seeing!
Here is the final code: https://github.com/rodydavis/flutter_deep_linking